How to install an indoor monitoring camera without drilling?
This step-by-step guide provides you with an easy and convenient method to install an indoor monitoring camera without the need for drilling. It highlights essential tools and materials required for the installation, including adhesive mounts or brackets, and offers practical tips for optimal camera placement to enhance security. By following these instructions, you can effectively set up your surveillance system in your home or office, ensuring peace of mind without damaging your walls.


Choose the Right Indoor Camera
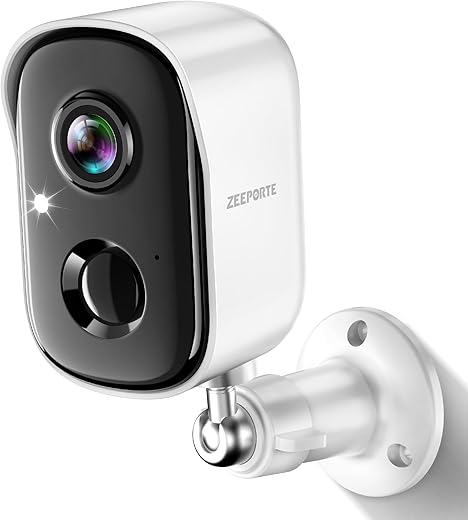
Consider selecting an indoor monitoring camera that supports adhesive mounting or has a design that fits seamlessly on shelves or furniture. Check the product specifications to ensure that the camera comes with adhesive pads or is lightweight enough to sit securely on various surfaces. This flexibility allows you to position the camera in areas where you need the most surveillance without worrying about drilling holes or complicated installations.
Look for essential features such as Wi-Fi connectivity, which enables you to access live feeds and recordings directly from your smartphone or computer. Ensure the camera has night vision capabilities so it can capture clear images in low-light conditions, providing round-the-clock monitoring. A wide-angle lens is also crucial; it allows the camera to cover more area, reducing the number of devices you may need around your home. Prioritize these features to maximize your indoor security system’s effectiveness.
Identify the Ideal Location
Choose a spot that offers the best vantage point for monitoring your desired area. Look for locations that provide a clear line of sight to the space you want to observe. Ensure the camera isn’t obstructed by trees, walls, or other objects that could hinder its field of view. Take a moment to visualize the coverage area and imagine how the camera will capture movements and activities.
Assess the proximity of power outlets and Wi-Fi signal strength in your chosen location. Ensure that the camera can easily connect to a power source without the need for excessive extension cords. Test the Wi-Fi signal in the area where you plan to install the camera to confirm that it will maintain a strong connection for reliable operation. This will prevent frustrating interruptions and ensure that your monitoring is seamless.
Prepare the Mounting Surface
Clean the surface where you plan to mount the camera using rubbing alcohol or a suitable cleaner. Grab a lint-free cloth or paper towel, then dampen it with the rubbing alcohol. Wipe the area thoroughly to remove any dust, dirt, or oils that may prevent the adhesive from sticking properly. Make sure to cover a slightly larger area than the mount itself to ensure a strong bond.
Allow the surface to dry completely before proceeding. This step is crucial, as any moisture can compromise the adhesion of your camera mount. Once dry, double-check the area to confirm it’s clean and free from any contaminants. With a properly prepared surface, you’ll set yourself up for a secure and reliable camera installation.
Use Adhesive Mounting Solutions
- Check the manufacturer’s instructions for adhesive mounting options specific to your camera model.
- Select a clean, dry surface for attachment. Wipe the area with a lint-free cloth or rubbing alcohol to ensure it’s free from dust and grease.
- Peel the backing off the adhesive mount carefully.
- Align the mount with the desired position on your camera.
- Press the adhesive mount firmly against the prepared surface.
- Hold it in place for at least 30 seconds to ensure a secure bond.
- Allow the adhesive to set for the recommended time provided in the manufacturer’s instructions before using the camera.
Utilize Alternative Mounting Techniques
Explore furniture or shelving options to place your camera securely. Position the camera on a stable bookshelf, cabinet, or desk, ensuring it offers a clear view of the desired area. Adjust the angle for optimal coverage, and make sure it’s firmly placed to prevent any tipping or sliding. If you prefer a more versatile approach, consider using command strips or heavy-duty tape for an easy, non-damaging solution. Clean the surface where you plan to attach the camera, then follow the instructions on the command strip package for best results. Apply the adhesive carefully, pressing firmly to ensure it sticks well, and mount the camera securely. This way, you can maintain your wall’s integrity while keeping your setup functional and stylish.
Connect and Configure the Camera
Power on the camera by pressing the designated power button, usually located on the side or back of the device. Watch for indicator lights to confirm it’s active. Next, access your Wi-Fi settings on your smartphone or tablet. Locate the network name (SSID) for your camera, which can often be found in the camera’s manual or on a label on the device itself. Select this network and enter the password, if prompted, to establish the connection.
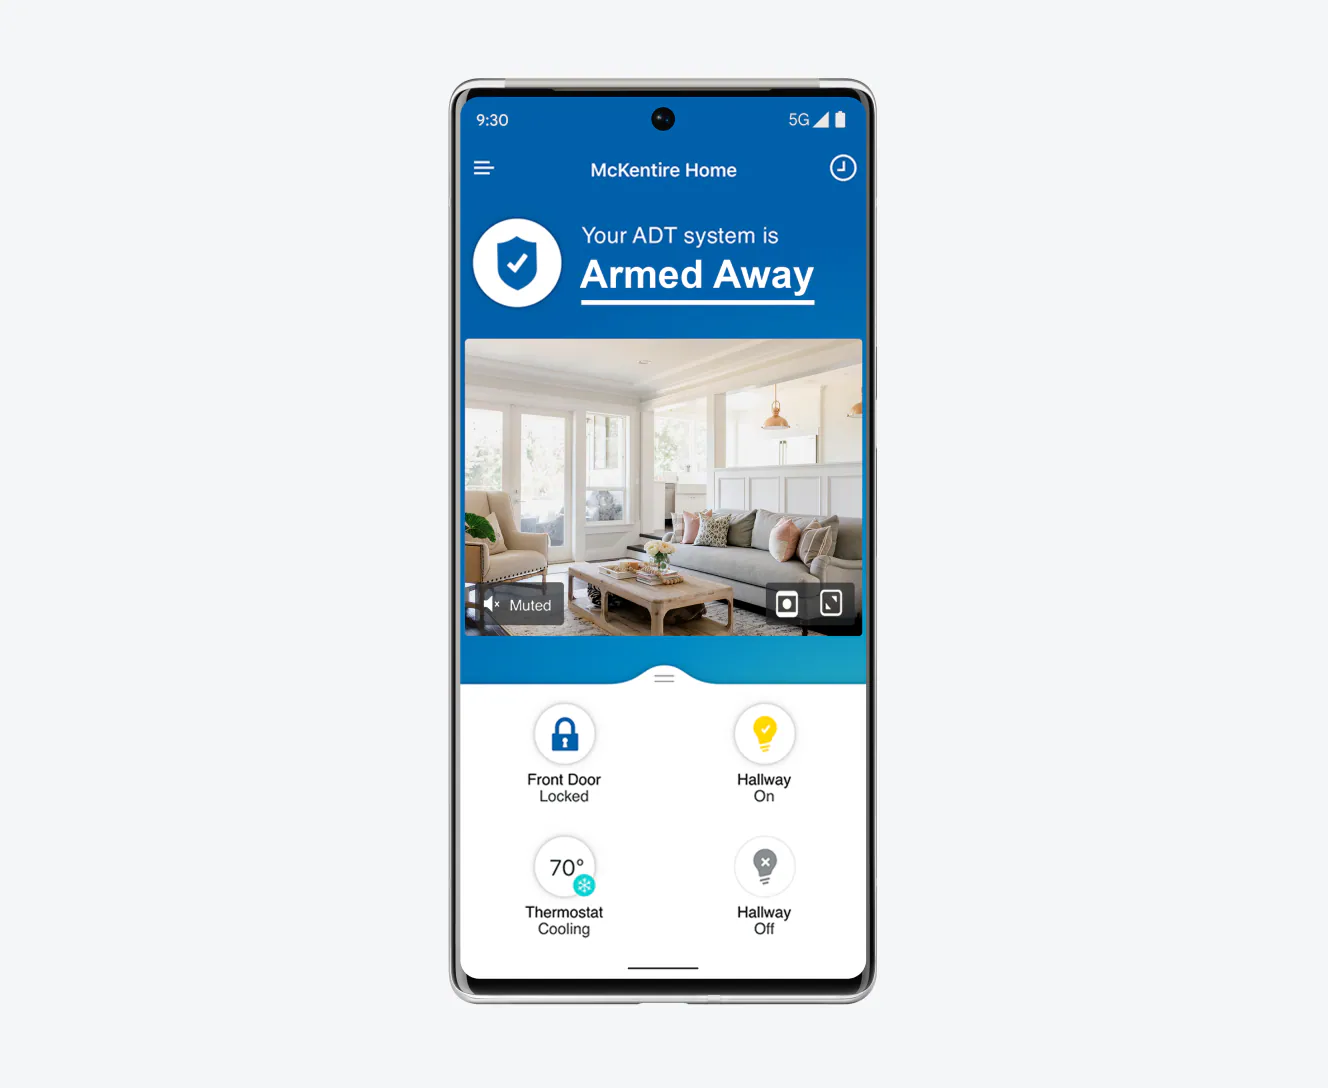
Download the manufacturer’s app from your device’s app store. Open the app and create an account if required, or log in with your existing credentials. Follow the prompts to add your camera to the app, typically by scanning a QR code displayed on the camera or entering a unique identification code found in the manual. Once added, customize your camera settings, such as motion detection and notification preferences, so you can start monitoring your space effectively.
Seamless Installation Solutions
In conclusion, installing an indoor monitoring camera without drilling is not only straightforward but also a practical way to boost your security without damaging your walls. By selecting the appropriate camera, preparing the installation area, and utilizing adhesive or other mounting options, you can effortlessly keep an eye on your space. With these tips, you’re well on your way to enjoying peace of mind in your home or office. Happy monitoring!
Essential Equipment List

Seamless Setup Solutions
Step-by-Step Guide to Setting Up and Utilizing Indoor Monitoring Cameras
- Choose the Right Location: Decide where you want to place your indoor camera. Common spots include entryways, living rooms, or nurseries to keep an eye on activities or ensure safety
- Connect to Wi-Fi: Make sure your camera is connected to your home Wi-Fi network. Follow the instructions in the camera’s manual or app to set it up properly
- Download the App: Most indoor cameras come with a companion app. Download it on your smartphone or tablet to access live feeds, recordings, and settings
- Adjust Settings: Take some time to customize the settings in the app. You can set up notifications for motion detection, adjust video quality, and schedule recording times according to your needs
- Test the Camera: After everything is set up, test the camera to ensure it’s capturing what you want. Check the video quality and the range of motion to make sure you’re satisfied with the coverage
- With these tips, you’ll be well on your way to effectively using your indoor monitoring camera!
Essential Insights on Indoor Monitoring Cameras
Indoor monitoring cameras serve several primary functions that can greatly enhance security and convenience in your space. Here are the key functions:
- Security Surveillance: These cameras help you monitor your home or business in real-time, deterring potential intruders and providing evidence in case of theft or vandalism.
- Remote Viewing: Many indoor cameras allow you to access live feeds through your smartphone or computer, giving you peace of mind while you’re away.
- Activity Tracking: Some cameras come with motion detection features that can alert you to unusual movements or activities, helping you stay informed about what’s happening in your space.
- Two-Way Audio: This feature allows you to communicate with anyone in the room, making it useful for checking in on pets, children, or even delivery personnel.
- Recording Capabilities: Most indoor cameras can record footage, which you can review later if needed. This is particularly helpful for keeping a record of events or incidents.
- Integration with Smart Home Systems: Many indoor cameras can be integrated with other smart devices, allowing you to create a more interconnected and automated home environment.
Overall, indoor monitoring cameras offer a combination of safety, convenience, and peace of mind, making them a valuable addition to your security setup.
Great question! The primary difference between wired and wireless indoor monitoring cameras lies in how they connect to your network and power source.
Wired Cameras:
- These cameras are connected to your home network through cables, typically Ethernet cables, and require a power source.
- They often provide a more stable and reliable connection, reducing the risk of interference or signal loss.
- Because they are hardwired, the image quality is often superior, and they are less susceptible to hacking.
- However, installation can be more complex, as it may require drilling holes for the cables.
Wireless Cameras:
- Wireless cameras connect to your home network via Wi-Fi and are usually powered by batteries or can be plugged into an outlet.
- They are generally easier to install since you don’t have to deal with cables, making them more flexible in terms of placement.
- However, their performance can be affected by Wi-Fi signal strength, and they may be more vulnerable to interference or hacking if not secured properly.
- Wireless cameras can also offer features like cloud storage and remote access more readily.
Ultimately, the choice between wired and wireless depends on your specific needs, setup, and preferences!
Read also: WYZE Cam Pan v3: A Comprehensive 1080P Security Camera Review
news via inbox
Stay updated with the latest tips and offers. Subscribe to our newsletter today!


A little tip from me: make sure to clean the surface area thoroughly before using adhesive mounts. I once had a camera fall because I didn’t clean it right. The camera was a Ring Indoor Cam, and it was a bummer to see it drop!
Great tip! Cleaning the surface can really make a difference in how well the adhesive sticks. Glad you enjoyed the guide, and we hope your next installation goes smoothly!
Quick question: how do you ensure the camera stays charged if it’s not plugged in? I’m nervous about battery life and not being able to see anything when it dies!
That’s a valid concern! For cameras like the Wyze Cam or Blink, battery life can vary based on usage. I recommend checking the battery levels regularly and using a power bank for longer monitoring sessions if needed!
What indoor camera do you recommend for a small apartment? I want something with good night vision and is easy to install without leaving marks on the walls. Any suggestions?
Wow, this guide is super helpful! I just installed a Wyze Cam v3 in my living room using adhesive strips, and it worked like a charm. No drilling needed, and I love being able to check in on my pets while I’m at work. Thanks for the tips!