How to replace the batteries in a smart lock?
This step-by-step guide provides a clear and concise process for replacing the batteries in a smart lock, ensuring it remains functional and secure. It begins by identifying the type of batteries your smart lock requires, followed by instructions on safely opening the lock’s battery compartment. The guide details how to remove the old batteries, insert the new ones correctly, and securely close the compartment. Additionally, it includes tips for testing the smart lock post-replacement to confirm proper operation. By following these steps, you can maintain the efficiency and reliability of your smart lock.


Gather Necessary Tools
- Gather a screwdriver suitable for your device’s screws.
- Acquire replacement batteries compatible with your device.
- Find a clean cloth for wiping surfaces or components as needed.
- Organize all tools in a designated workspace for easy access.
- Double-check that you have everything before you start the process.
Identify Battery Type
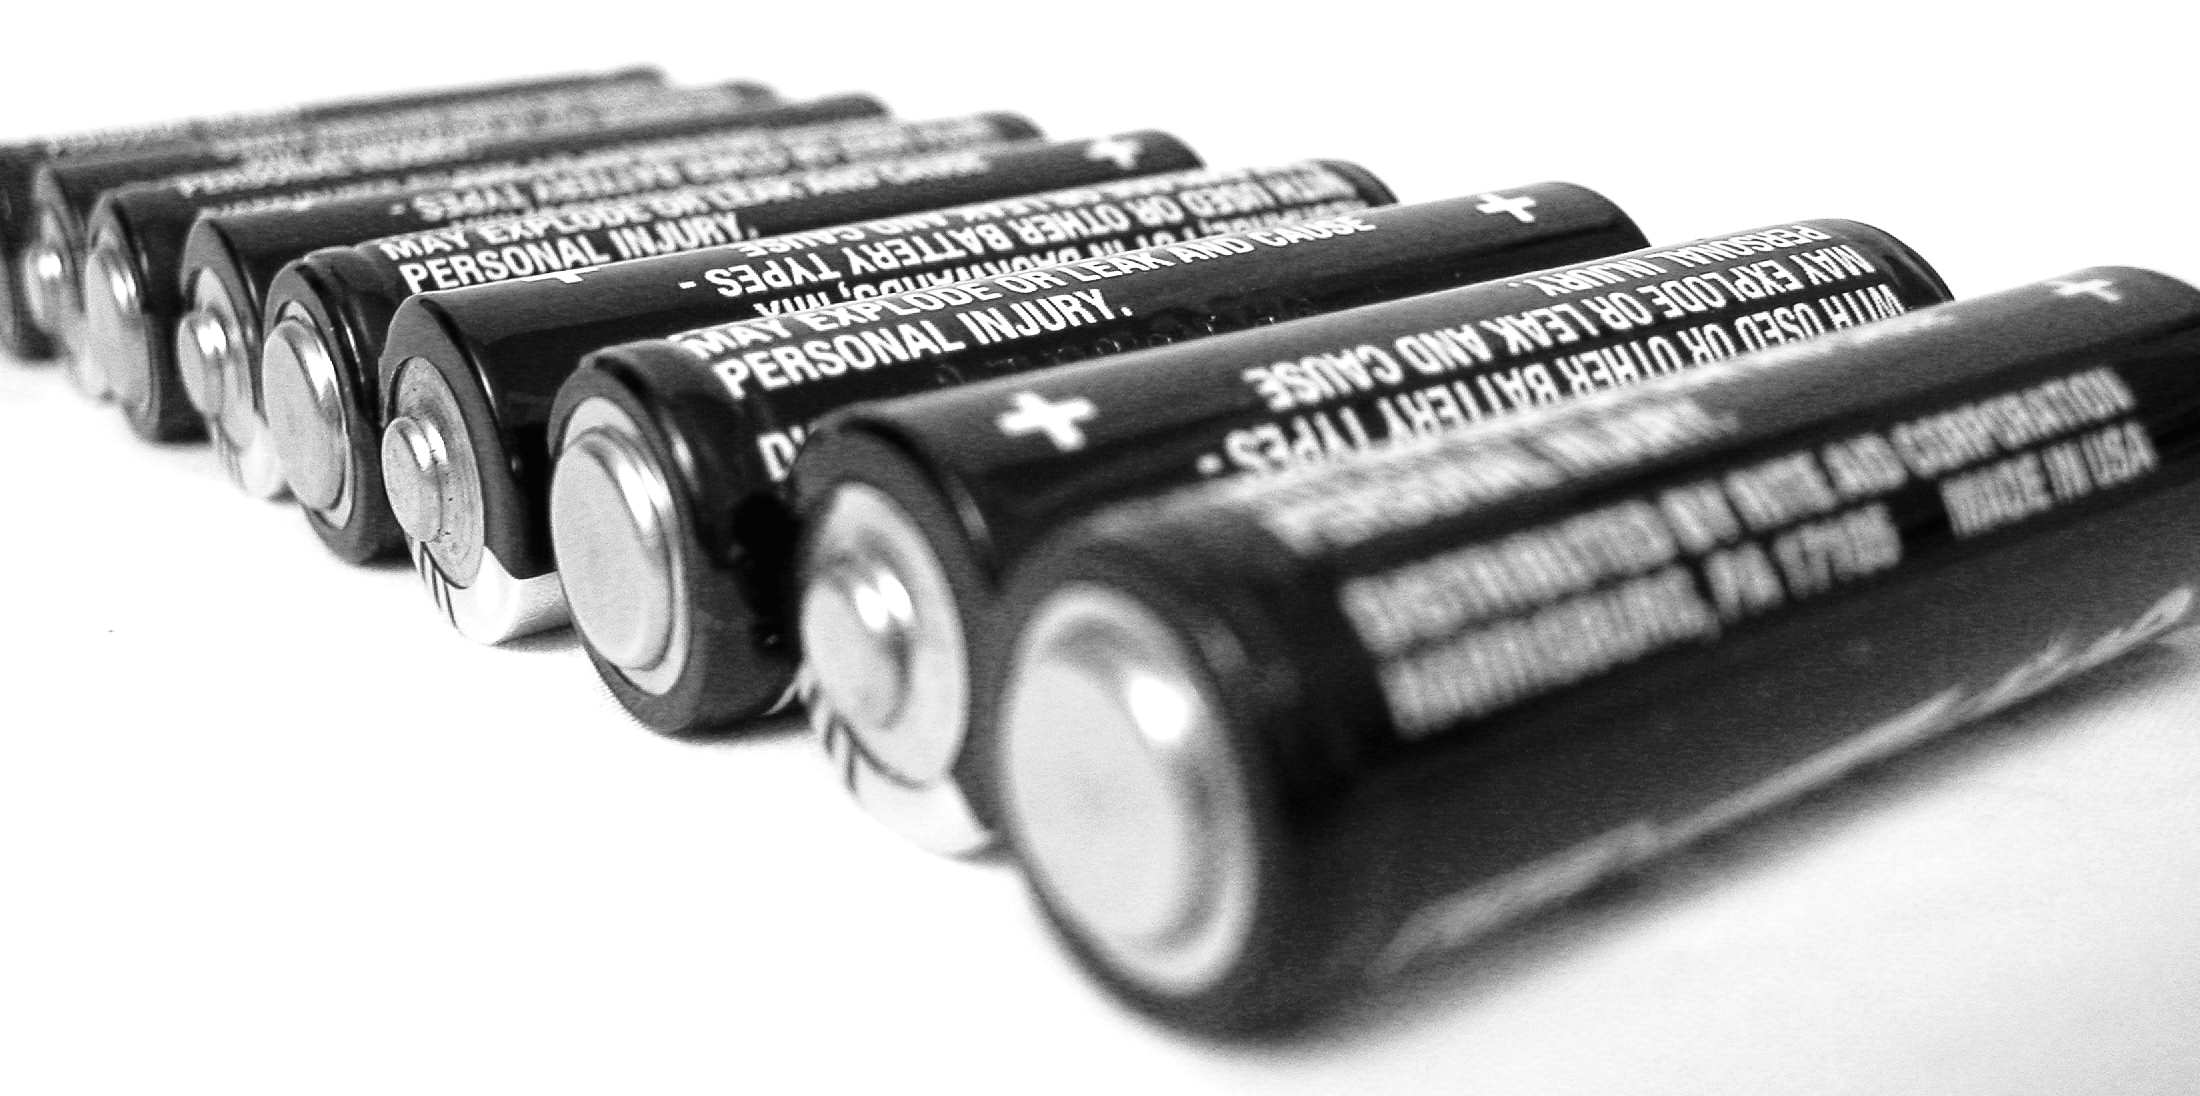
Check the user manual or the back of the smart lock for battery specifications. Look for a section indicating the type of batteries required, such as AA, AAA, or a specific lithium battery. If the manual is unavailable, inspect the battery compartment of the lock itself, as it often has a label or diagram showing the correct battery type. Make sure to note the required quantity of batteries needed for a seamless replacement.
Power Off the Smart Lock
Power off the smart lock by locating the power switch and turning it off. If your lock doesn’t have a switch, unplug it from its power source. Make sure to double-check that it’s completely powered down to avoid any accidental triggering while you work on replacing it. This step is crucial for ensuring your safety during the replacement process.
Locate the Battery Compartment
- Check the interior side of your smart lock; the battery compartment is usually found there. Look for a small panel or door that may have a slot for a coin or a notch for your fingernail to pry it open.
- If you don’t see it on the interior side, look for a removable cover on the front or side of the lock. Gently slide or pull it off to reveal the battery compartment behind.
- Ensure you have the right tools, like a flathead screwdriver, if the cover requires unscrewing. Some models might have a simple press-release mechanism that makes it easy to access the batteries.
- Once you locate the compartment, take note of the battery orientation before removing them, so you can replace them correctly later.
Remove the Battery Cover
Unscrew the screws holding the battery cover in place with a screwdriver, ensuring you keep them in a safe spot to avoid losing them. If the cover slides off instead, gently push or pull it to unlock it without forcing it, as this could damage the lock mechanism. Once the cover is removed, set it aside carefully to expose the battery compartment. Make sure to handle everything delicately to maintain the integrity of the device.
Take Out Old Batteries
Gently grasp the old batteries and pull them out of the compartment, taking care not to damage any surrounding components. Observe the orientation of the batteries as you remove them; note which end is positive (+) and which is negative (−) for accurate placement of the new batteries. Place the old batteries aside in a designated recycling or disposal bin. This step will help ensure that you insert the new batteries correctly, maintaining the device’s functionality.
Insert New Batteries
Ensure the new batteries are oriented correctly by looking for the plus (+) and minus (-) signs inside the battery compartment. Align the positive end of the battery with the plus sign and the negative end with the minus sign. For example, if the compartment shows a plus sign on the left side, the positive terminal of the battery should face that direction. Firmly press down on each battery until they are snugly fit in place.
Replace the Battery Cover
Align the battery cover with the device, ensuring that all tabs fit into their corresponding slots. Press down firmly to snap the cover into place. If there are screws, insert them and tighten securely using an appropriate screwdriver. Check that the cover is flush with the device to confirm it is properly sealed.
Power On the Smart Lock
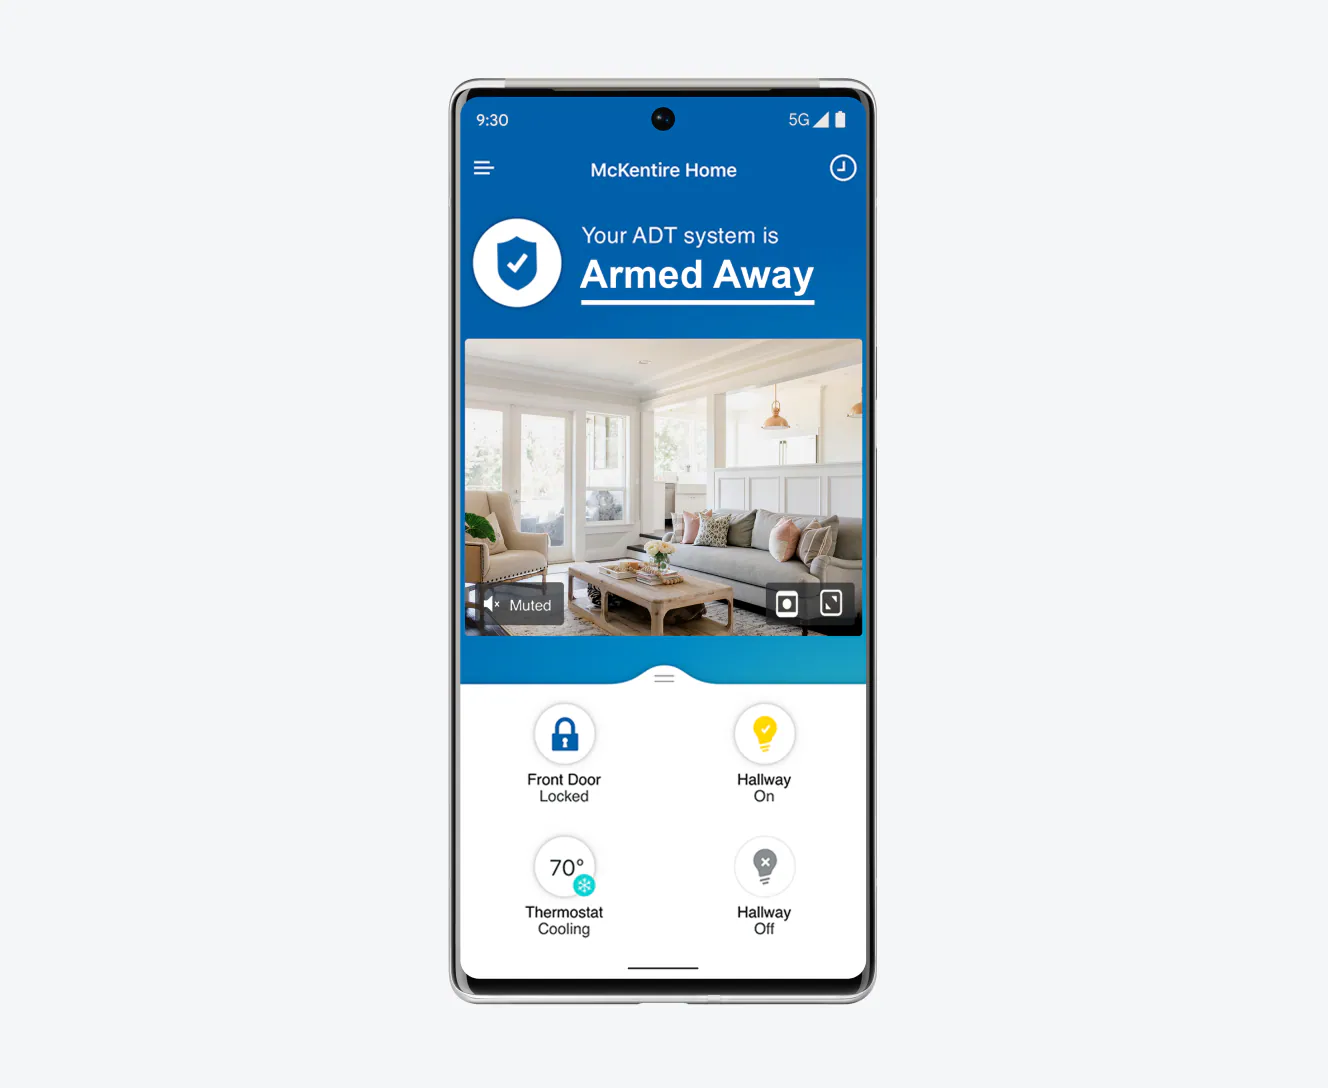
Power on the smart lock by locating the power button, usually found on the side or back of the device. Press and hold the button for a few seconds until you see the indicator light turn on, signaling that the lock is now active. If the smart lock is powered by batteries, make sure to reconnect it to the power source if needed. Once powered on, test the lock’s functionality by attempting to lock and unlock it using your smartphone app or the keypad.
Test the Smart Lock
Lock the door using the smart lock’s app or keypad. Observe if the lock engages properly, indicating that it is functioning correctly. Unlock the door next, either through the app or keypad, and check for a smooth response. Ensure that the new batteries are powering the lock effectively by repeating the locking and unlocking process a few times.
Final Steps for Battery Replacement
In conclusion, replacing the batteries in your smart lock is a straightforward process that plays a crucial role in maintaining the security of your home. By staying proactive with regular checks and timely replacements, you can ensure that your smart lock functions optimally when you need it most. Keeping your home safe and secure is a priority, and a little maintenance goes a long way!
Essential Tools Needed

Battery Replacement Made Easy
Step-by-Step Guide to Installing Your Smart Lock
- Choose the Right Smart Lock: Research different smart locks to find one that fits your door type and meets your security needs. Look for features like keyless entry, remote access, and compatibility with your smartphone
- Gather Necessary Tools: Before starting the installation, make sure you have the tools you need, such as a screwdriver, tape measure, and possibly a drill. Most smart locks come with installation instructions and the necessary hardware
- Remove the Existing Lock: Carefully remove your current deadbolt or doorknob lock. Follow the manufacturer’s instructions to ensure you don’t damage your door. Keep the screws and any parts you may need for the new lock
- Install the Smart Lock: Follow the installation guide provided with your smart lock. Align the new lock’s components with the holes in your door, insert the screws, and tighten them securely. Make sure everything is aligned properly for smooth operation
- Set Up the Smart Features: Once installed, download the corresponding app on your smartphone and follow the steps to connect your smart lock to your home Wi-Fi. This may involve creating an account, pairing the lock with the app, and setting up any additional features, like guest access or schedules
- I hope you find this helpful! Happy locking!
Everything You Need to Know About Installing Smart Locks
To connect your smart lock to your home Wi-Fi or Bluetooth, follow these general steps:
- Download the App: First, download the app that corresponds to your smart lock. This is usually available on the Apple App Store or Google Play Store.
- Create an Account: Open the app and create an account if you don’t already have one. Some smart locks may allow you to use them without an account, but having one can offer additional features.
- Prepare Your Lock: Make sure your smart lock is installed correctly on your door and has fresh batteries. If it requires a specific setup procedure, consult the manual.
- Connect via Bluetooth:
- Open the app and select the option to add a new device.
- Follow the prompts to put your smart lock into pairing mode. This often involves pressing a button on the lock.
- Once the lock appears in the app, select it to pair. You may need to enter a code or tap a button on the lock to confirm.
- Connect to Wi-Fi (if your lock has Wi-Fi capability):
- In the app, look for an option to connect to Wi-Fi.
- Select your home Wi-Fi network from the list and enter the password.
- Once connected, the app should confirm the connection.
- Test the Connection: After setup, test your lock to ensure it works remotely via the app.
If you run into any issues, refer to the user manual for troubleshooting tips or check the manufacturer’s support website. Happy locking!
Yes, it is generally necessary to download an app for a smart lock to function properly. Most smart locks are designed to work with a specific mobile application that allows you to control the lock remotely, manage users, and access features like lock status and notifications. However, there might be some smart locks that offer basic functionalities without an app, but to utilize all the features, having the app is usually essential.
Read also:
news via inbox
Stay updated with the latest tips and offers. Subscribe to our newsletter today!


I’ve found that some smart locks like the Yale Assure SL have a different way of accessing the battery compartment. You might need to slide a panel instead of removing the whole cover. Just a heads up for anyone with that model!
Thanks for sharing that! It’s always great to hear about variations in different models. Each smart lock can have its quirks, so knowing that can help someone avoid frustration.
This guide is super helpful! Just replaced the batteries in my August Smart Lock yesterday and it was a breeze. I always forget which batteries it needs, so knowing to identify the battery type beforehand really saved me some time. Thanks for the clear steps!
Glad to hear it was helpful! Remembering the battery type can be tricky, but it definitely makes the process smoother. If you have any other tips, feel free to share!
Also, if anyone’s interested, I think it would be cool to have a guide on how to troubleshoot common issues with smart locks. Sometimes it’s more than just battery changes!
That’s a great suggestion! Troubleshooting can be a real lifesaver, and we’ll consider creating a guide on that. Thanks for the idea!
Could someone recommend which batteries work best for the Kwikset Smart Lock? I want to avoid those cheap ones that die too quickly!
I’d recommend using Duracell or Energizer batteries. They tend to last longer and have a good reputation among users of the Kwikset Smart Lock.
Anyone know if there are different battery options for the Schlage Encode? I heard some people use rechargeable batteries. Is that worth it?
Great question! You can use rechargeable batteries in the Schlage Encode, but just ensure they have enough voltage. Some users find they need to replace them more often than standard batteries, though.
Quick question: when you say to power off the smart lock, does that mean I need to take off the whole lock unit or just turn it off from the app?
You can usually just turn it off via the app, but if you’re having trouble, removing the unit is a safe bet. Always good to double-check!
Just for fun, what do you all think about smart locks in general? I feel like they’re great but also a bit of a hassle when it comes to battery changes. Would love to hear others’ thoughts!
It’s definitely a mixed bag! Smart locks offer convenience but can have their quirks. It’s all about weighing the pros and cons based on your lifestyle. What do you think?