How to install an ADT home security system?
Did you know that a burglary happens every 26 seconds in the United States? That’s a shocking statistic that can leave anyone feeling vulnerable in their own home. I completely understand how unsettling this can be, especially when you think about the safety of your loved ones and personal belongings. That’s why I’m excited to share with you a simple, step-by-step guide on how to install an ADT home security system. With ADT’s trusted reputation for protecting homes, you can take control of your safety and gain peace of mind. Let’s dive in together and make your home a safer haven!


Understanding Your ADT System Components
Before diving into the installation process of your ADT home security system, it’s essential to become familiar with its various components. By understanding the roles of each part, you can tailor your security setup to meet your specific needs. Here’s a closer look at the key elements of your ADT system, including control panels, sensors, cameras, and alarms.
Control Panels
The control panel is the brain of your ADT security system. It serves as the central hub where you can manage all components, monitor alerts, and customize settings.
Key Features:
- User Interface: Most ADT control panels, like the ADT Command Panel, feature a touchscreen interface that allows for easy navigation and control.
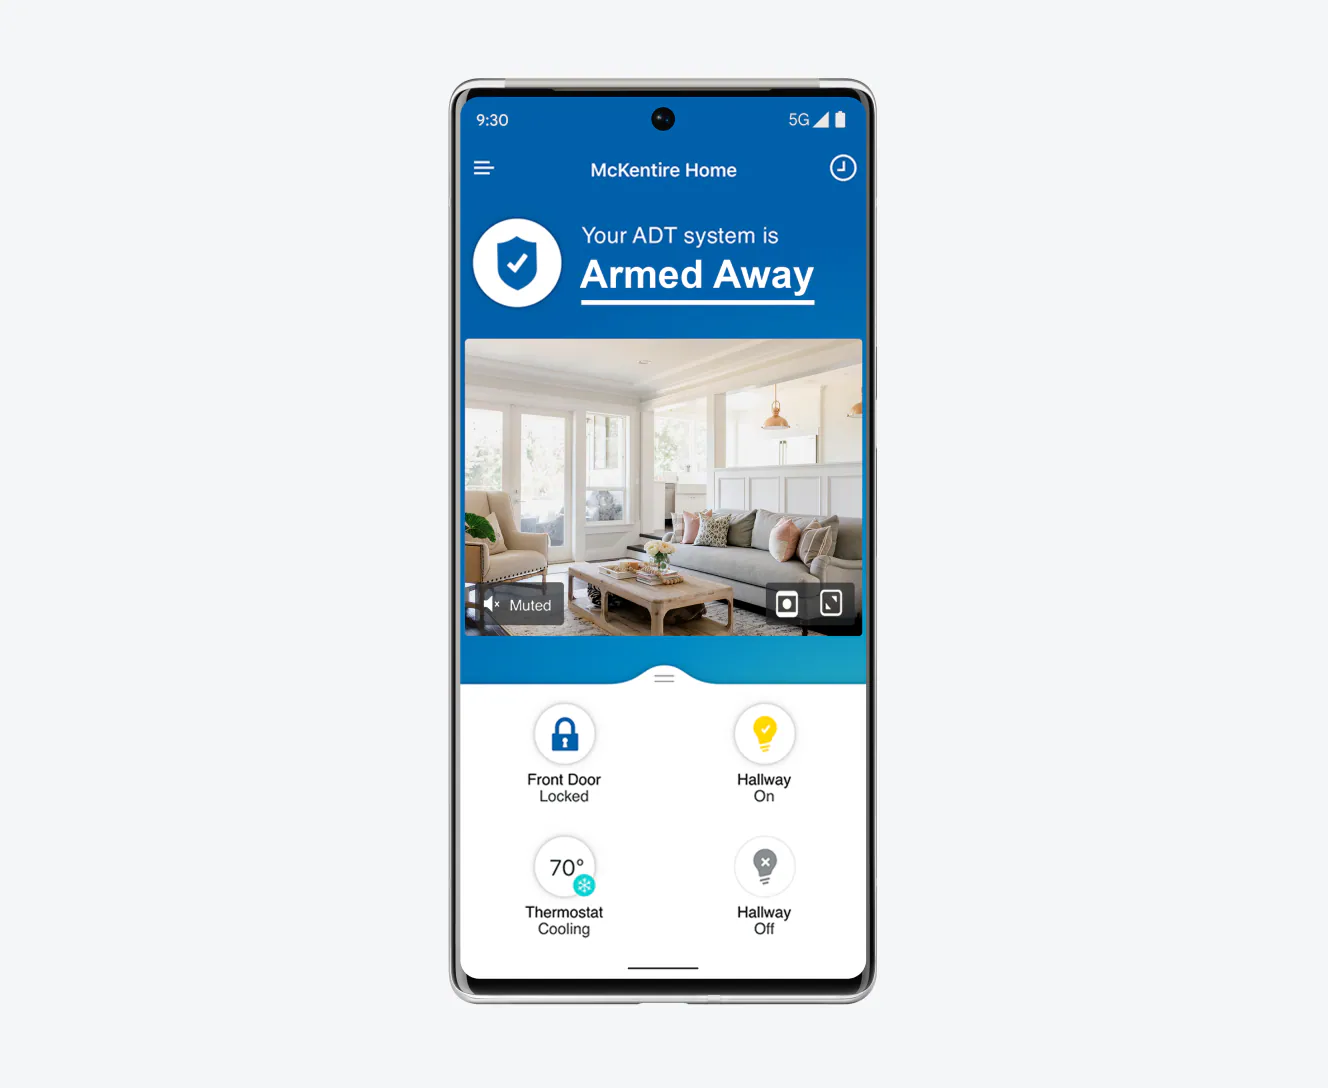
- Connectivity: These panels typically connect via Wi-Fi or cellular signals, ensuring you can manage your system remotely through the ADT mobile app.
- Alert Management: Control panels receive information from various sensors and cameras, allowing you to respond quickly to alerts.
Example:
- ADT Command Panel: This model not only integrates seamlessly with other ADT components but also features smart home connectivity, enabling you to control lights, locks, and thermostats.
Sensors
Sensors are vital for detecting unauthorized entry or unusual activity within your home. Here are the primary types of sensors you might find in your ADT system:
Types of Sensors:
- Door and Window Sensors: These sensors alert you if a door or window is opened unexpectedly. Models like the ADT Door and Window Sensor are discreet and easy to install.
- Motion Detectors: These can identify movement within a designated area. The ADT Motion Detector uses infrared technology to detect body heat, minimizing false alarms.
- Glass Break Sensors: These sensors listen for the sound of breaking glass and can alert you to potential intruders.
Benefits:
- Provides real-time alerts for potential breaches.
- Can help reduce false alarms by distinguishing between significant and minor disturbances.
Cameras
Surveillance cameras are a crucial element of your security system. They provide visual monitoring, which is vital for both deterrence and evidence collection.
Types of Cameras:
- Indoor Cameras: The ADT Indoor Camera is perfect for monitoring your home’s interior. Many models come with night vision and two-way audio features.
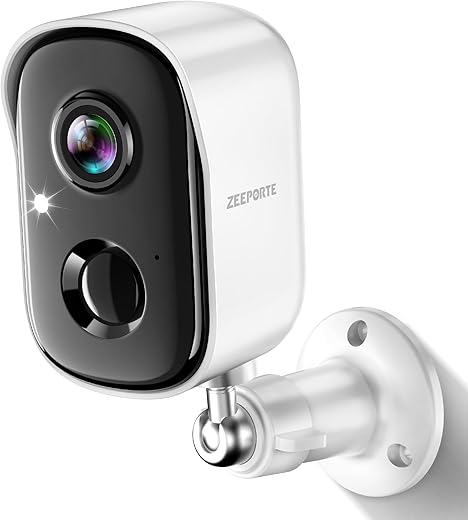
- Outdoor Cameras: The ADT Outdoor Camera is designed to withstand harsh weather conditions and offers features like HD video and motion-triggered alerts.
- Video Doorbells: The ADT Doorbell Camera allows you to see and communicate with visitors from your smartphone, enhancing your home’s security.
Key Features:
- High-definition video quality for clear images.
- Mobile alerts that notify you of movement or activity.
Alarms
Alarms serve as the first line of defense against intruders. When a sensor is triggered, the alarm alerts you and can notify the ADT monitoring center.
Types of Alarms:
- Siren Alarms: The ADT Siren emits a loud sound that can deter intruders and alert neighbors.
- Smart Home Integration: Systems like the ADT Pulse allow you to integrate alarms with smart devices, enabling you to control them remotely.
Benefits:
- Immediate alerts and deterrents reduce the likelihood of break-ins.
- Peace of mind knowing that your home is monitored 24/7.
Comparison Table of Key Components
| Component | Example Model | Key Features | Importance |
|---|---|---|---|
| Control Panel | ADT Command Panel | Touchscreen, mobile app connectivity | Central hub for system management |
| Door & Window Sensor | ADT Door and Window Sensor | Discreet design, easy installation | Alerts for unauthorized access |
| Motion Detector | ADT Motion Detector | Infrared technology, pet-friendly | Detects movement within designated areas |
| Indoor Camera | ADT Indoor Camera | HD video, two-way audio | Visual monitoring of interior spaces |
| Outdoor Camera | ADT Outdoor Camera | Weatherproof, night vision | Surveillance of exterior areas |
| Video Doorbell | ADT Doorbell Camera | Smart alerts, video feed | Monitoring of entry points |
| Siren Alarm | ADT Siren | Loud sound, smart device integration | Immediate alert for potential breaches |
Understanding each component of your ADT home security system will help you create a robust and responsive security solution tailored to your needs. By investing in quality products and familiarizing yourself with their functions, you’ll be well-prepared to protect your home effectively.
Preparing for Installation
Preparation is key to a successful installation of your home security system. By gathering the necessary tools and materials in advance, selecting optimal locations for cameras and sensors, and ensuring your internet connection is robust, you’ll set yourself up for a smooth installation process. Let’s dive into each of these areas to ensure you’re fully ready.
Tools and Materials Needed
Before you start the installation, it’s essential to have the right tools and materials at hand. Here’s a handy list of what you might need:
- Tools:
- Screwdriver Set: A set like the DEWALT Screwdriver Set ensures you have various sizes for different screws.
- Drill: A cordless drill like the BLACK+DECKER 20V MAX can make drilling holes for mounting brackets much easier.
- Level: A standard level or a laser level can help ensure that your cameras and sensors are installed straight.
- Measuring Tape: A good quality measuring tape, like the Stanley 25ft FatMax, will help you measure distances accurately.
- Materials:
- Mounting Brackets: Depending on your camera or sensor model, you may need mounting brackets. Brands like Arlo and Ring often have specific brackets that work best with their products.
- Cable Extensions: If you’re using wired cameras, consider purchasing cable extensions. Look for brands like Amcrest or Reolink for reliable options.
- Battery Backup (if applicable): For systems like the Ring Video Doorbell, a backup battery can be handy to ensure your system stays operational during power outages.
Choosing the Best Locations for Cameras and Sensors
Selecting the right locations to install your cameras and sensors is crucial for maximizing effectiveness. Here are some tips for determining the best spots:
- Entry Points: Position cameras near doors and windows, focusing on areas like the front door, back door, and garage. A good choice is the Nest Cam IQ Outdoor, which offers high-definition video and facial recognition capabilities.
- High Traffic Areas: Place cameras in areas where there is a lot of activity, such as driveways or pathways. The Arlo Pro 4 is a great option for outdoor use, as it has a wide field of view and night vision.
- Avoid Obstacles: Make sure the cameras have an unobstructed view. Avoid placing them behind trees, bushes, or other structures that could block the camera’s line of sight.
- Height Considerations: Install cameras at least 9 feet off the ground to prevent tampering and maximize visibility.
Checking Your Internet Connection
A reliable internet connection is essential for smart home devices, particularly for cameras and sensors that stream video or send alerts. Here’s how to ensure your connection is up to par:
- Speed Test: Use an online speed test tool like Ookla’s Speedtest to check your internet speed. You should ideally have at least 5 Mbps upload speed for standard cameras and 10 Mbps for high-definition models.
- Router Placement: Make sure your router is centrally located in your home. Consider using a mesh network system like the Netgear Orbi for extended coverage, especially if you have a larger home.
- Wi-Fi Security: Ensure your Wi-Fi is secure with a strong password to prevent unauthorized access to your security system.
Ensuring All Components are Ready for Installation
Before you start installation, it’s important to ensure that all components are ready to go. Here’s a checklist to help you:
- Unbox and Inspect: Take all equipment out of the boxes and inspect for damages. Ensure you have all necessary components, such as power adapters and mounting hardware.
- Charge Batteries (if applicable): If you’re using battery-operated devices like the Ring Stick Up Cam, make sure the batteries are fully charged before installation.
- Firmware Updates: Check for firmware updates for your cameras and sensors. Devices like the Eufy Security 2K camera often receive updates that enhance performance and security features.
- App Installation: Download the respective apps for your devices, such as the Arlo App or Ring App, and create an account if necessary. This will save you time once you start setting everything up.
With these preparations in place, you’ll be well on your way to a successful installation of your home security system. By ensuring you have the right tools, selecting optimal locations, and confirming your internet connection, you’re setting yourself up for a seamless installation experience.
Step-by-Step Installation Guide
Installing your ADT home security system can feel like a daunting task, but fear not! This guide will walk you through each step to ensure that your home is well-protected with a system that’s tailored to your needs. Let’s break it down into manageable parts.
Step 1: Gather Your Tools and Equipment
Before you start, make sure you have all necessary tools and equipment ready. Here’s what you’ll need:
- Screwdriver (Phillips and flathead)
- Drill (if mounting cameras or sensors)
- Measuring tape
- Level (for ensuring straight installations)
- Pencil (for marking positions)
- ADT Home Security System Kit (including control panel, cameras, and sensors)
- Mounting brackets (typically included with your cameras and sensors)
Step 2: Choose Your System Components
Your ADT Home Security Kit typically includes several components. Here are the main parts you might have:
- ADT Control Panel (such as the ADT Command Panel)
- Indoor/outdoor cameras (like the ADT Pulse Camera)
- Door/window sensors (such as the ADT Window/Door Sensor)
- Motion detectors (like the ADT Motion Sensor)
- Key fob for easy access
Component Overview
| Component | Purpose | Example Model |
|---|---|---|
| Control Panel | Central hub for system operation | ADT Command Panel |
| Indoor/Outdoor Cameras | Surveillance and monitoring | ADT Pulse Camera |
| Door/Window Sensors | Alerts for unauthorized entry | ADT Window/Door Sensor |
| Motion Detectors | Detects movement in monitored areas | ADT Motion Sensor |
| Key Fob | Quick arming/disarming of the system | ADT Key Fob |
Step 3: Install the Control Panel
- Select Location: Choose a central location in your home for the control panel that’s easily accessible. Near the front door is often ideal.
- Mount the Control Panel:
- Use the level to mark the mounting holes.
- Drill holes as necessary and use wall anchors if installing on drywall.
- Secure the panel using screws provided in the kit.
- Connect to Power: Plug the control panel into an electrical outlet. Ensure the panel is powered on, indicated by a green light.
Step 4: Install Cameras
Indoor Camera Installation
- Choose Location: Optimal spots include high corners of rooms.
- Mount the Camera:
- Mark the drilling spots using the mounting bracket.
- Drill holes and insert wall anchors.
- Attach the camera and ensure it’s secured.
- Connect to Wi-Fi:
- Follow the on-screen prompts on the control panel to connect your camera to your home Wi-Fi network.
Outdoor Camera Installation
- Select Location: Ideal spots include entry points and driveways.
- Mount the Camera:
- Use the same process as above for mounting.
- Ensure it’s weatherproof and out of reach to avoid tampering.
- Connect to Wi-Fi: Use the control panel to connect the outdoor camera to the network.
Step 5: Connect Sensors
- Door/Window Sensors:
- Peel off the adhesive backing and place one part of the sensor on the door/window frame and the other part on the door/window itself.
- Ensure they align when the door/window is closed.
- Motion Detectors:
- Choose areas where motion is expected, avoiding direct sunlight or airflow from vents.
- Follow similar adhesive application as for door/window sensors.
- Testing Sensors: Once all sensors are installed, walk by them to ensure they detect movement and send alerts to the control panel.
Step 6: Configure Your System
- Access the Control Panel: Use the touchscreen to navigate to system settings.
- Setup User Codes: Create unique user codes for family members and assign permissions.
- Test Your System: Activate the system and test each component to ensure it’s working correctly. This includes arming and disarming the system, testing cameras, and ensuring sensors trigger alerts.
Step 7: Final Touches
- Review User Manual: Make sure to read the user manuals for each component for specific troubleshooting advice.
- Download the ADT App: Monitor your system remotely. Set it up for notifications and live feeds from your cameras.
Following these steps will help you install your ADT home security system successfully. With everything set up, you can enjoy the peace of mind that comes with knowing your home is well-protected!
Final Steps for a Secure Home Installation
In conclusion, installing an ADT home security system is a straightforward process when you follow the steps provided and familiarize yourself with the components. By taking the time to prepare and thoroughly test your system after installation, you can enhance the safety of your home. If you find the process challenging or if your setup needs more complex configuration, don’t hesitate to seek professional assistance. Your peace of mind is worth it!
Read also:
news via inbox
Stay updated with the latest tips and offers. Subscribe to our newsletter today!


What’s the best plan to choose for a small apartment?
Thanks for breaking it down! I was overwhelmed by all the options but this makes it clearer.
Anyone have tips on where to place the cameras? I’m kinda clueless!
Can you connect ADT with smart home devices? Would love to integrate everything!
Do I need to be tech-savvy to install it, or is it beginner-friendly?
I love how easy the installation looks. Might give it a try this weekend!
I wish I had known this before! Just had a break-in last month.
I’ve heard mixed reviews about ADT. Is it really worth it?
Great article! I’ve been meaning to set up a security system. This is super helpful!
Does anyone know if ADT offers discounts for new customers?